If One Small Part Just Failed, You’re Probably Already in a Failure Stack
Here’s something repair techs know — and most owners never hear:
Failures don’t happen one at a time.
They happen in stacks.
One weak component fails.
That failure overloads the next weak link.
That stress takes out another part.
Then another.
By the time you’re on your second or third repair, you’re no longer dealing with bad luck.
You’re inside a Failure Stack.
This is why people say:
• “I just fixed this.”
• “It keeps breaking in the same area.”
• “Something else went right after.”
• “It was fine, then everything went wrong.”
Those aren’t coincidences.
They’re patterns.
If one small part just failed, odds are two more are already weakened.
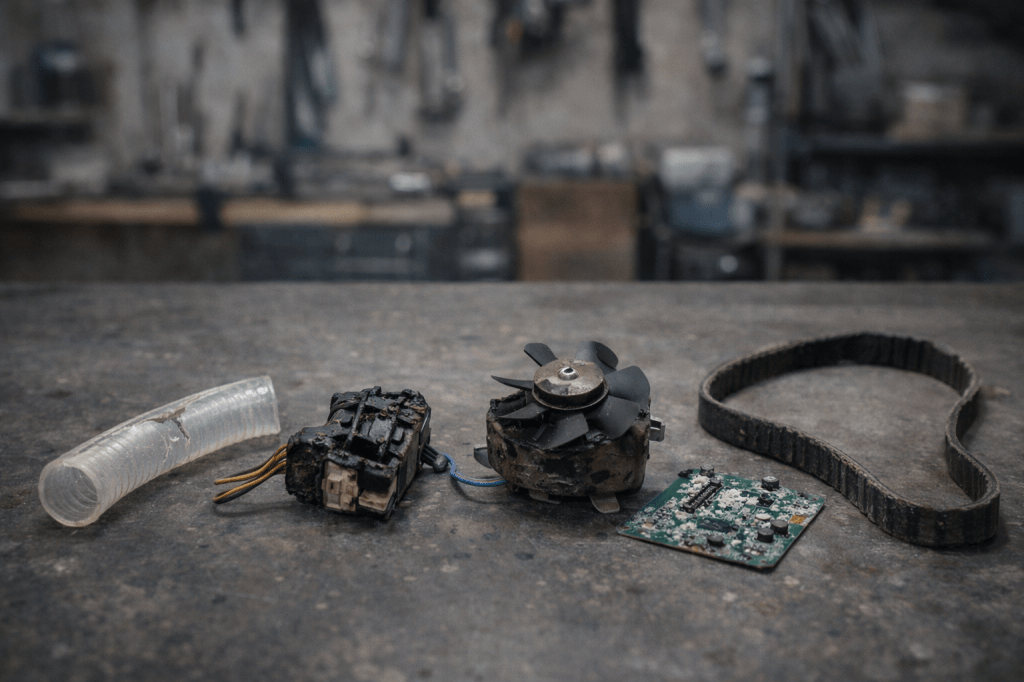
What a Failure Stack Actually Is
A Failure Stack is a chain reaction where:
- One cheap, sacrificial part fails
- The system reroutes stress
- Heat, load, or pressure increases elsewhere
- Another marginal part crosses its limit
- Failures cluster in time
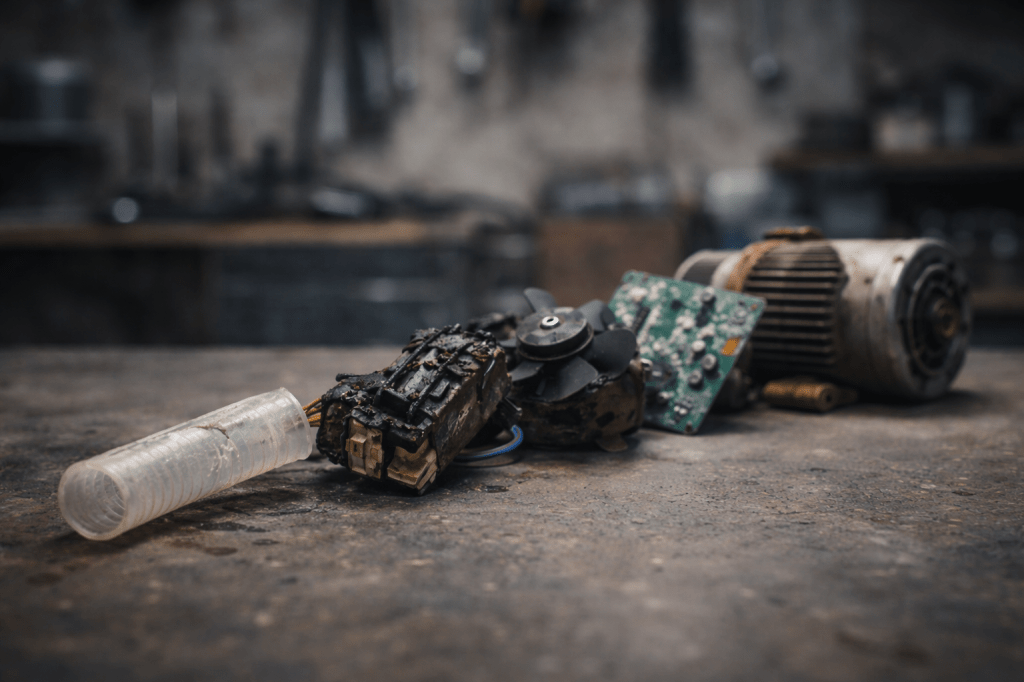
This is why repair shops see:
• Multiple parts replaced in the same visit
• Repeat visits for “related” issues
• Systems that never quite recover
• Customers shocked by “bad timing”
It’s not timing.
It’s physics + cost-cut design.
The 6 Weak-Link Zones (Where Failure Stacks Start)
Across almost every product category, Failure Stacks begin in the same zones.
Once you see these, you’ll start predicting failures.
1. Heat Shadow Zones (Silent Kill Areas)
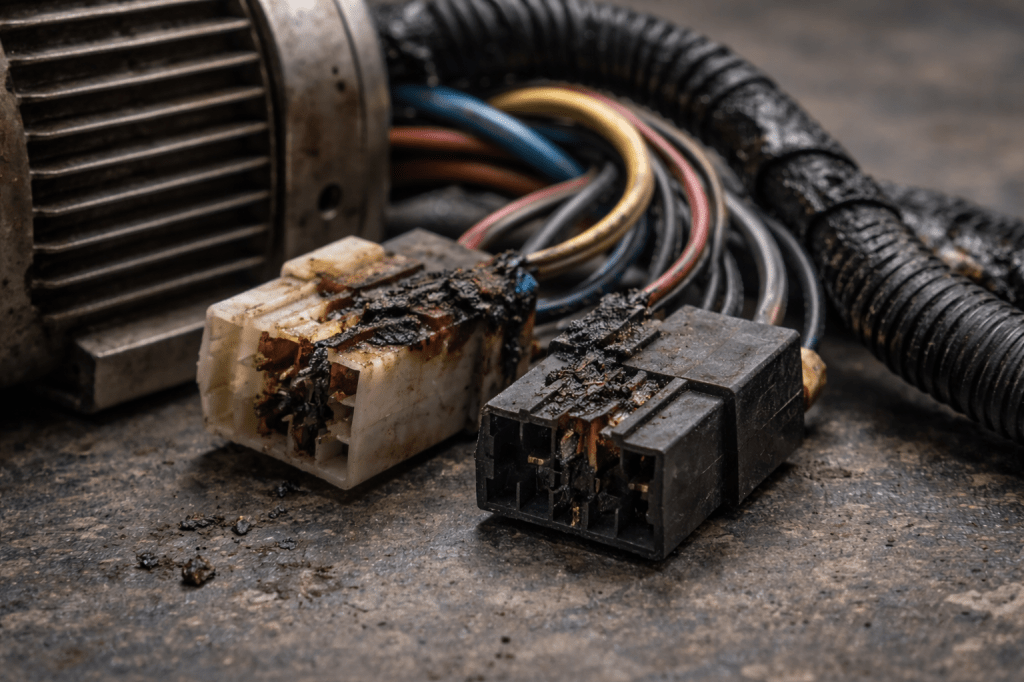
These are parts mounted near heat — not designed for it.
Examples:
• Connectors near motors
• Boards near power supplies
• Hoses near heaters
• Plastic near exhaust paths
• Wiring near transformers
They aren’t rated for constant heat.
They cook slowly.
By the time one fails, nearby parts are already brittle.
Tech rule:
If one heat-shadow part failed, inspect everything within 10–15cm.
2. Vibration Nodes (Fatigue Factories)

Anything that vibrates creates micro-damage.
These areas destroy:
• Bearings
• Fan motors
• Clips
• Mounts
• Ribbon cables
• Press-fit connectors
Vibration doesn’t cause instant failure.
It causes fatigue accumulation.
That’s why noise usually shows up before death.
Tech rule:
New noise = countdown timer.
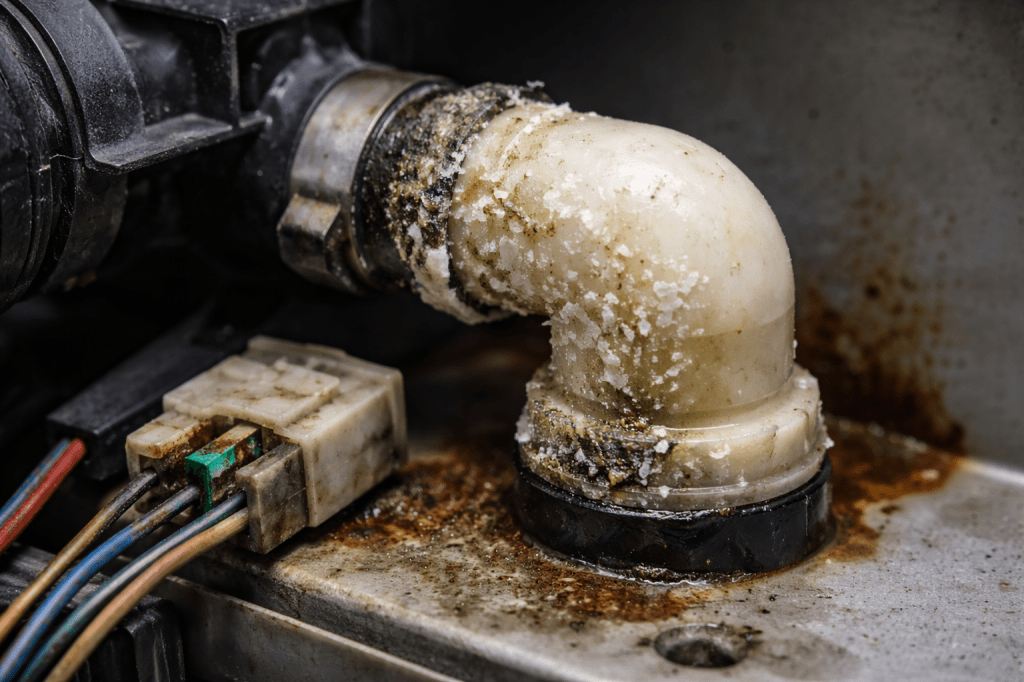
3. Fluid Interface Points (Leak Multipliers)
Any place where:
• Liquid meets electronics
• Pressure meets plastic
• Heat meets rubber
Is a future failure site.
High-risk areas:
• Hose connections
• Plastic elbows
• Seals near heat
• Drain points
• Condensation zones
Leaks don’t just cause leaks.
They cause:
• Corrosion
• Short circuits
• Mold
• Bearing washout
• Structural damage
Tech rule:
One leak almost always leads to two electrical problems later.
4. Electrical Bottlenecks (Silent Board Killers)
Small electrical parts that handle big loads:
• Relays
• Power connectors
• Charging ports
• DC jacks
• Low-grade capacitors
• Cheap MOSFETs
These are current choke points.
They run hot.
They fatigue.
They take boards with them.
Tech rule:
Intermittent fault = electrical bottleneck in distress.
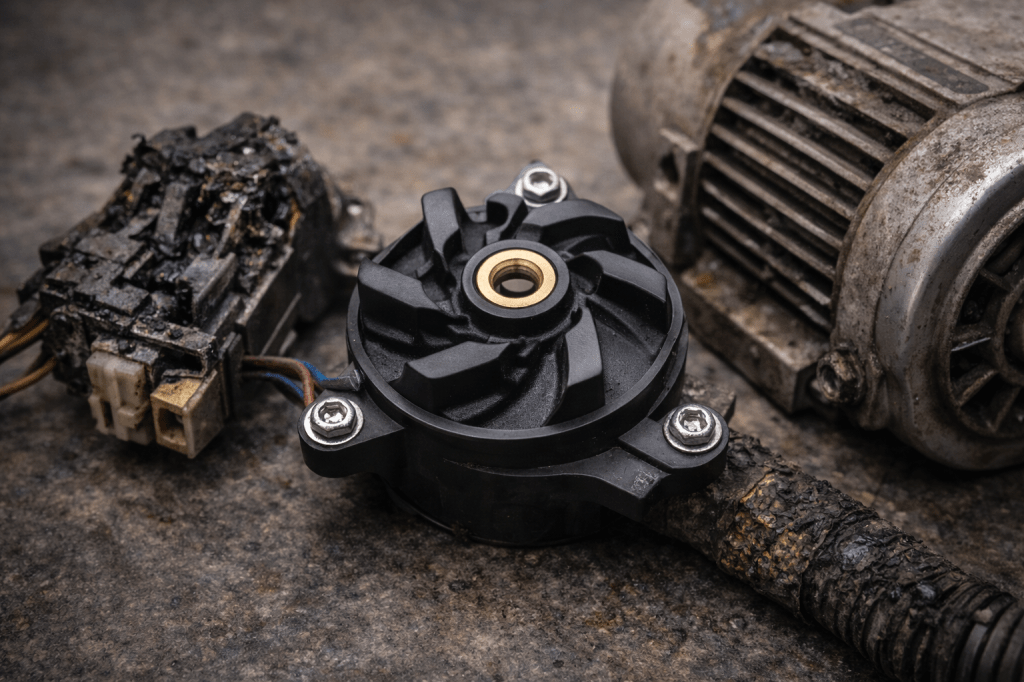
5. Sacrificial Drive Parts (Designed to Die)
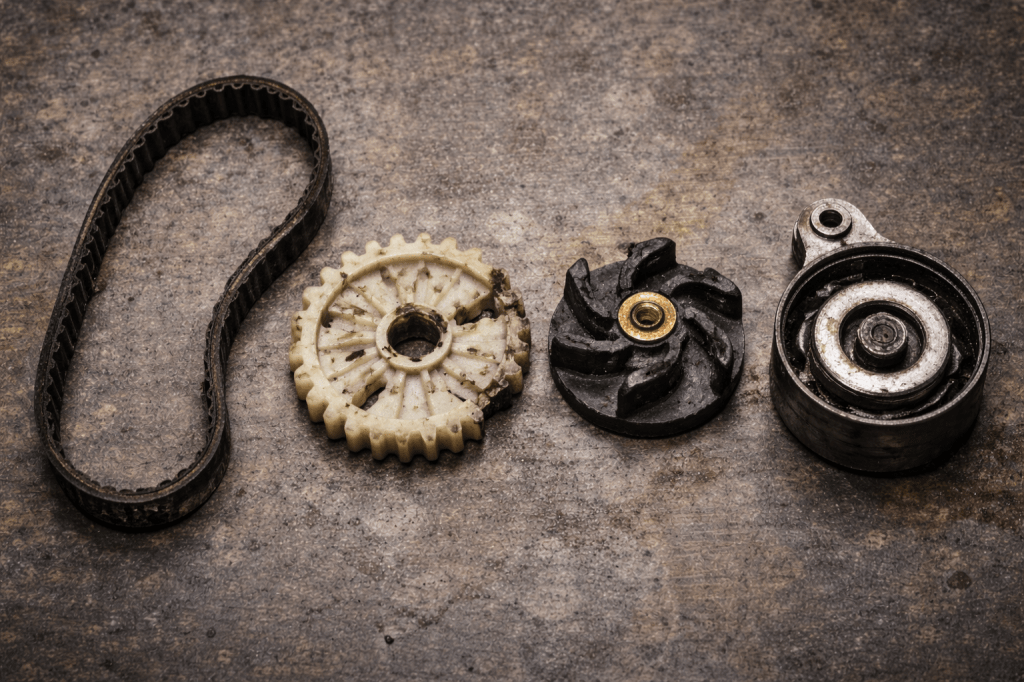
These parts are meant to fail first:
• Belts
• Small pumps
• Secondary fans
• Plastic gears
• Tensioners
• Idler wheels
They protect:
• Main motors
• Compressors
• Gearboxes
• Power supplies
If you replace one, ask:
What did it just protect?
6. Cheap Plastic Assemblies (Cost-Cut Kill Zones)
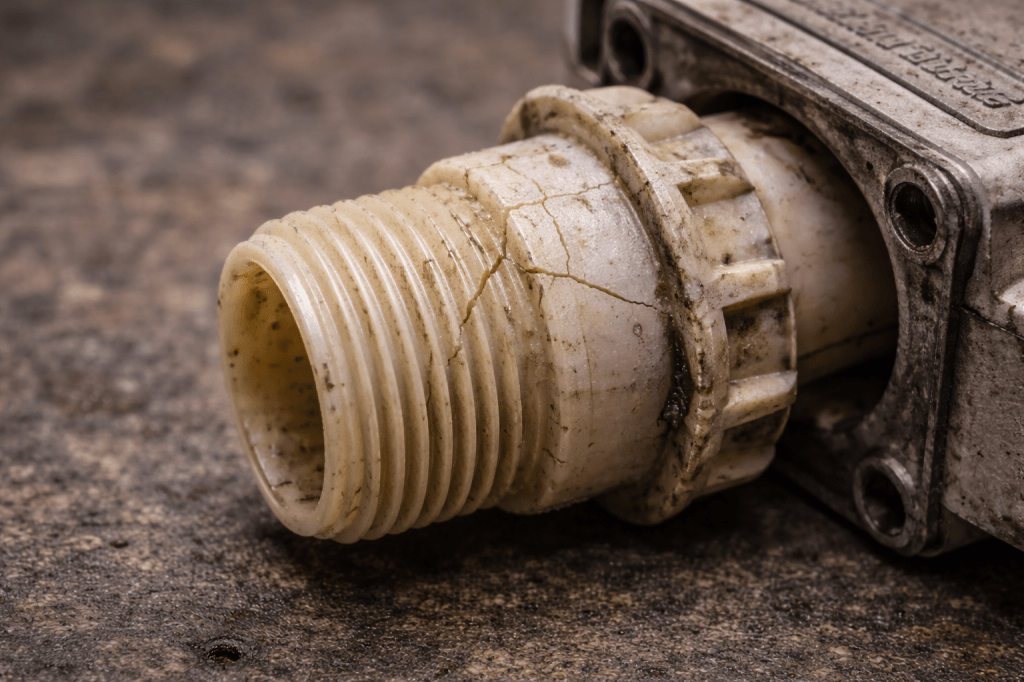
These are where accounting beats engineering.
Look for:
• Thin plastic housings
• Press-fit fittings
• Plastic threads
• Brittle clips
• Molded elbows
They crack before metal would.
They fail early.
They cause cascade damage.
Why Manufacturers Build It This Way (The Part Nobody Says Out Loud)
This is where it gets uncomfortable.
Products are designed around:
• Warranty period survival
• Lowest bill of materials
• Assembly speed
• Replaceability — not longevity
Weak parts are cheaper to swap than redesigning systems.
So they design sacrificial failure points.
It keeps warranty costs down.
It keeps build costs low.
It shifts long-term cost to the owner.
This is why:
You don’t get one failure.
You get a series.
How Serious This Is (Reality Check)
Severity: High Once the Stack Starts
Before the first failure:
You’re in normal wear.
After the first failure:
You’re in stack mode.
Stress reroutes.
From that point:
• Heat rises
• Loads increase
• Margins disappear
• Secondary parts fail faster
This is why post-repair failures cluster in weeks or months — not years.
The Real Cost Curve (What Techs See)
Phase 1 — Cheap Failure
£10–£60
Small part
Warning sign
Stack begins
Phase 2 — Stress Damage
£80–£300
Motors
Boards
Pumps
Fans
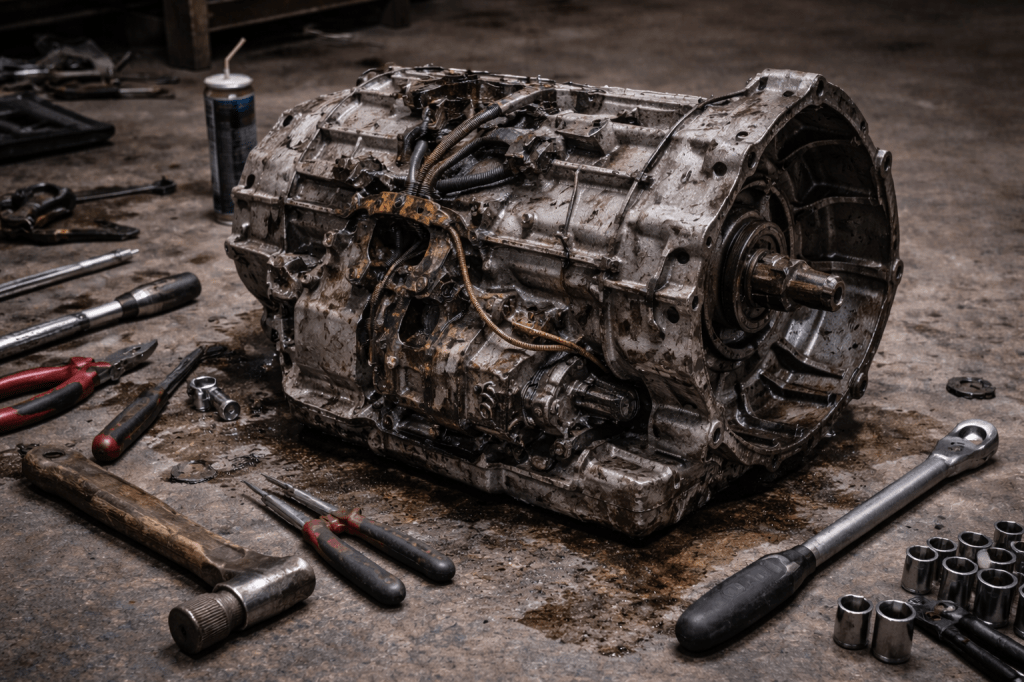
Phase 3 — System Failure
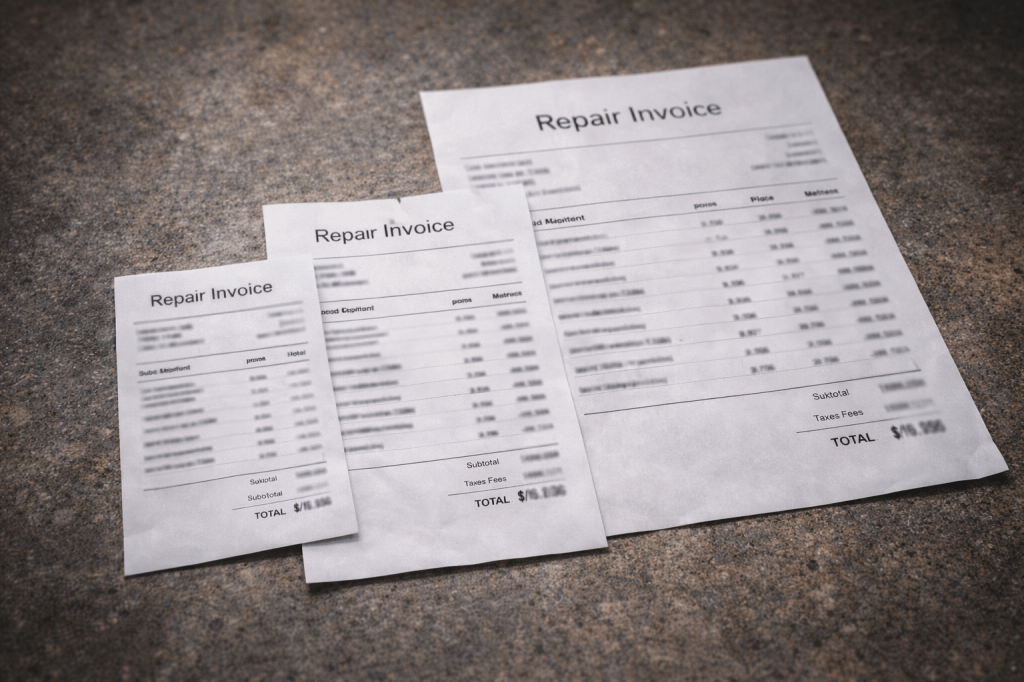
£300–£1,200+
Compressors
Main boards
Drive assemblies
Total unit replacement discussion
Most people only see Phase 3.
Techs see Phase 1 coming.
How to Break a Failure Stack (What Smart Owners Do)
This is where you get ahead.
1. Expand the Repair Zone
Never replace just the failed part.
Inspect the Failure Zone.
Check:
• Nearby connectors
• Adjacent hoses
• Mounts
• Heat exposure
• Vibration damage
Fix the zone — not just the symptom.
2. Lower System Stress
After a failure:
• Clean cooling paths
• Improve airflow
• Reduce load
• Replace weak mounts
• Improve electrical connections
Lower stress = stop the cascade.
3. Upgrade Weak Links
When possible:
• Higher-temp rated hose
• Better capacitor
• Heavier connector
• Metal replacement for plastic
• Higher-quality fan or pump
This literally interrupts the stack.
Tools, Parts & Fixes (What Pros Actually Use)
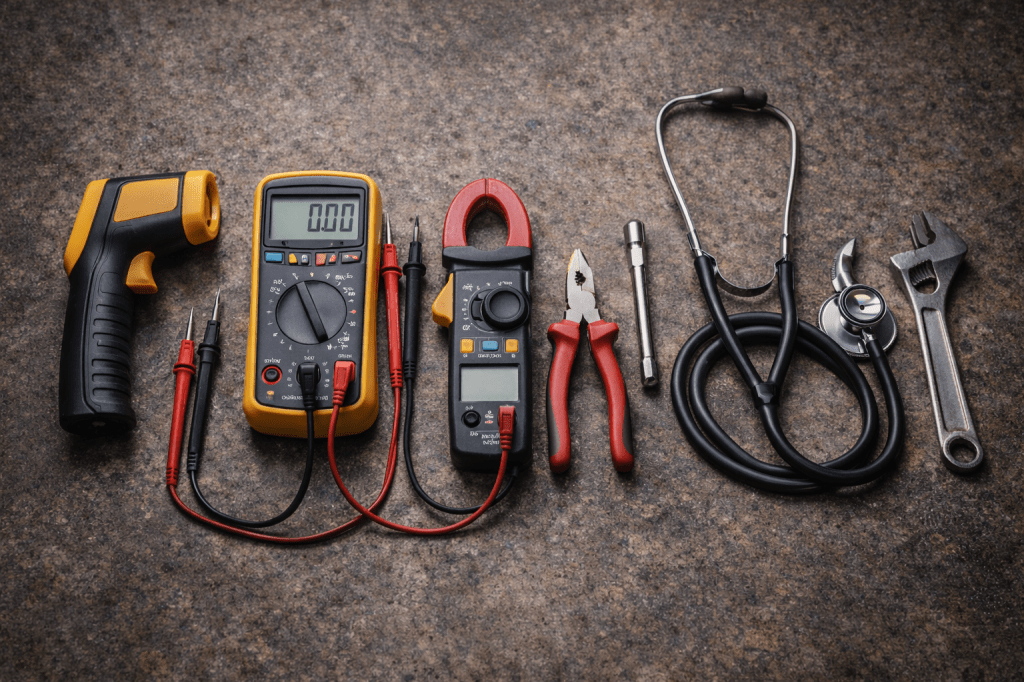
This is where DIYers separate from repeat customers.
• Infrared Temperature Gun
To see invisible heat stress.
Find:
• Hot connectors
• Overloaded boards
• Failing motors
• Heat-shadow zones
• Multimeter + Clamp Meter
To catch:
• Voltage drops
• Overcurrent
• Failing relays
• Weak power supplies
• Vibration & Noise Detection
• Mechanic stethoscope
• Contact probe
• Smartphone vibration apps
Noise tells you what’s next.
• Preventive Wear Kits
Stock:
• Hoses
• Seals
• Belts
• Fans
• Relays
• Capacitors
Most stacks are stopped with cheap parts.
When DIY Stops Making Sense
Call a shop when:
• High voltage
• Refrigerant
• Gas
• Structural disassembly
• Major board work
• Water intrusion into electronics
Stacked failures plus DIY mistakes = exponential cost.
How to Prevent Future Stacks
Learn the Weak-Link Map
Every system has predictable weak zones.
Once you identify them:
You start fixing ahead of failure.
Replace in Clusters
If one part failed in a zone:
Replace the adjacent wear items too.
It feels wasteful.
It’s cheaper.
Improve Cooling & Stability
Heat and vibration are the accelerants.
Control them, and failure curves flatten.
Final Warning (The Line Techs Live By)
There is no such thing as a “one-off failure.”
There is only:
Before the stack
Or inside the stack
Once you’re inside it, every delay multiplies cost.
This is how:
A £30 part
Becomes a £300 repair
Becomes a £1,500 replacement conversation
The people who save money don’t get lucky.
They break the Failure Stack early.

Leave a comment